
Let’s be honest, fitting a full recording setup into a tiny attic is a real puzzle. We all know that awkward slanted ceilings can make a space feel incredibly cramped. The goal here is to turn that tight loft into a high-functioning creative sanctuary. You will gain a clear roadmap for arranging your gear without the usual headaches.
Our experience leads us to believe that the right layout changes everything for your productivity. It is also important to consider how your furniture affects the overall energy of the room. Do you ever feel like your gear is closing in on you during a session? We get it, and we have been there before.
The main point is that a small footprint does not have to limit your big musical ideas. Practical ways to arrange your desk, monitors, and instruments effectively can save your workflow. You can expect to see real-world examples of how to utilize every inch of your floor plan.
1. Compact Corner Workspace
A great way to start is by utilizing the corners of your room for gear storage. This layout commonly features a small desk tucked away to maximize the remaining floor space. You may think that corners feel cramped, but they often provide a cozy and focused vibe. Keeping your MIDI keyboard within reach ensures that you can capture every musical idea quickly.
2. Minimalist Production Desk Idea
More and more people choose to keep their workspace clean and free of unnecessary clutter. A simple desk and a pair of studio monitors often define this streamlined production environment. Natural light from a nearby window can make a small attic feel much larger than it is. Most producers find that a tidy desk leads to a much more productive creative session.
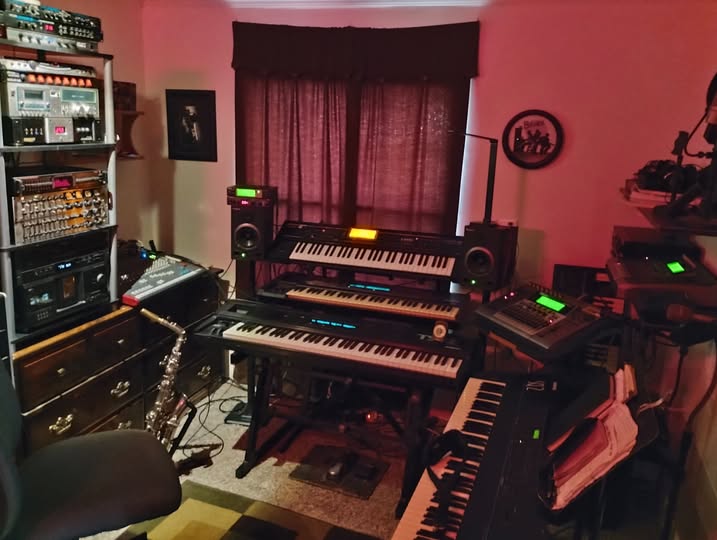
3. Professional Rack Integration Layout
One of my biggest issues with small rooms is the messy cable situation under the desk. A dedicated gear rack helps keep your audio interface and outboard equipment organized and safe. This setup may include a mobile rack that you can move around for better acoustic positioning. Sticking to a vertical storage solution prevents your equipment from taking up valuable floor real estate.
4. Creative Workspace Design
Ideally, your studio should feel like an inspiration hub that reflects your unique musical style. This layout often includes a mix of instruments and comfortable seating for long writing sessions. Short sentences and a clear path to your main computer help keep the energy flowing well. Placing a rug on the floor can improve the sound and add a touch of comfort.
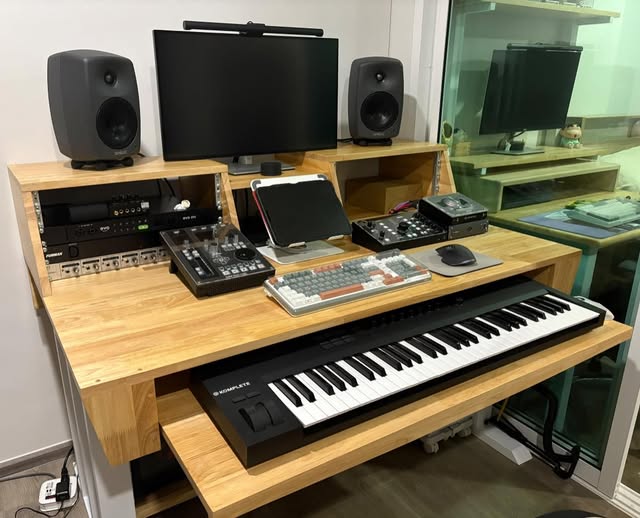
5. Efficient Desktop Arrangement
The next step is to ensure your studio monitors are at the correct ear level. Small stands or foam pads commonly feature in this layout to reduce unwanted desk vibrations. It is also clear that a large monitor screen helps you see your DAW more clearly. Keeping your most used gear in the center helps you stay in the sweet spot.
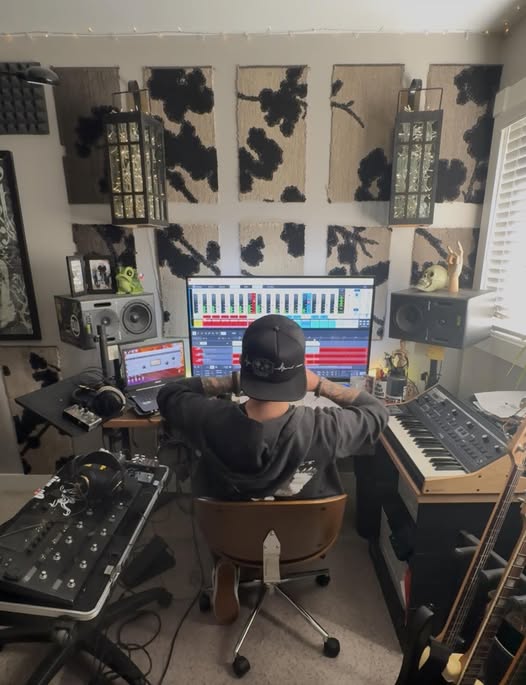
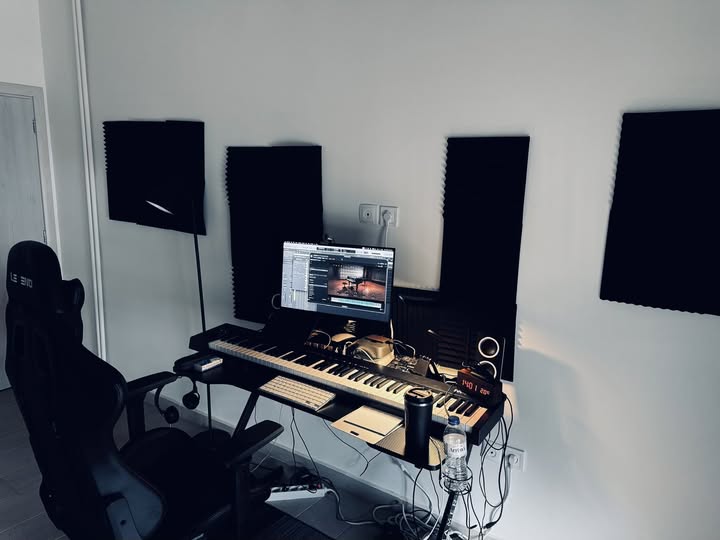
6. Cozy Attic Studio Nook
One of the first things that come to mind is how to handle low ceilings. This layout uses the lowest part of the roof for storage or secondary gear stations. You don’t have to feel limited by the architecture if you plan your furniture placement wisely. Soft lighting and acoustic panels often make these small nooks feel like a professional booth.
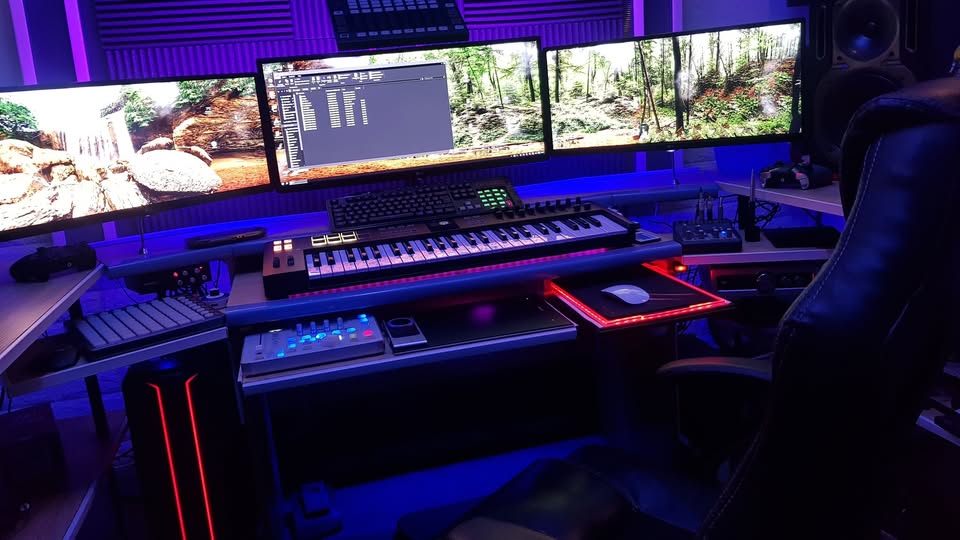
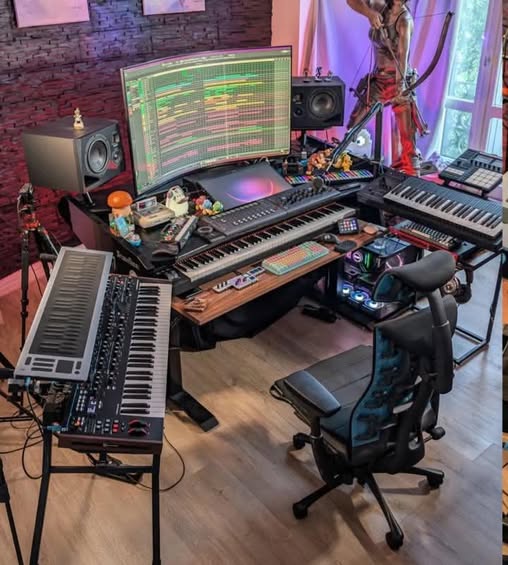
7. Modern Music Command Center
Now that we have gone over the basics, let’s discuss a more advanced gear setup. A large studio desk serves as the anchor for multiple screens and MIDI controllers. This space may include a comfortable chair that supports your back during those long mixing nights. Using wall-mounted shelves keeps your desktop clear for your mouse and keyboard movements.
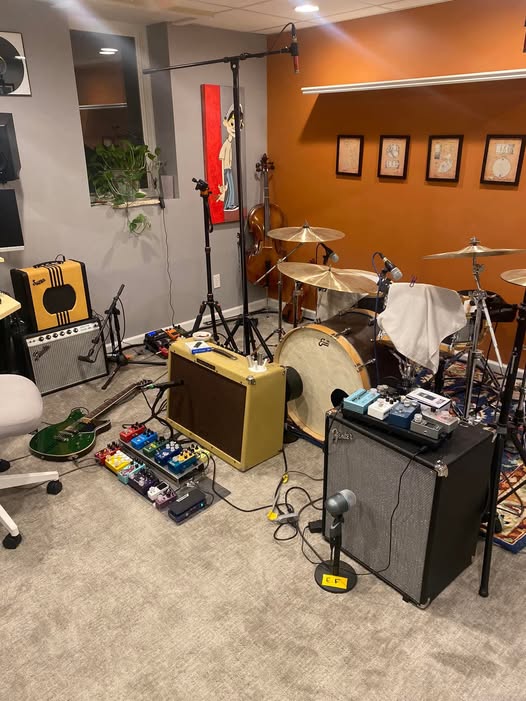
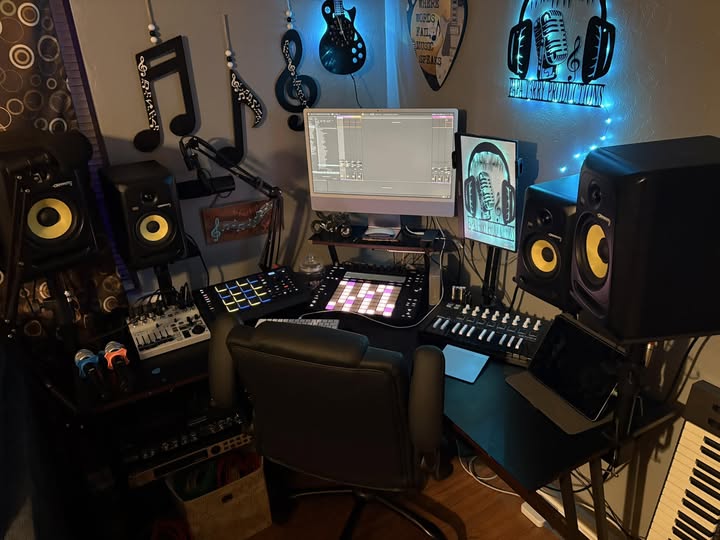
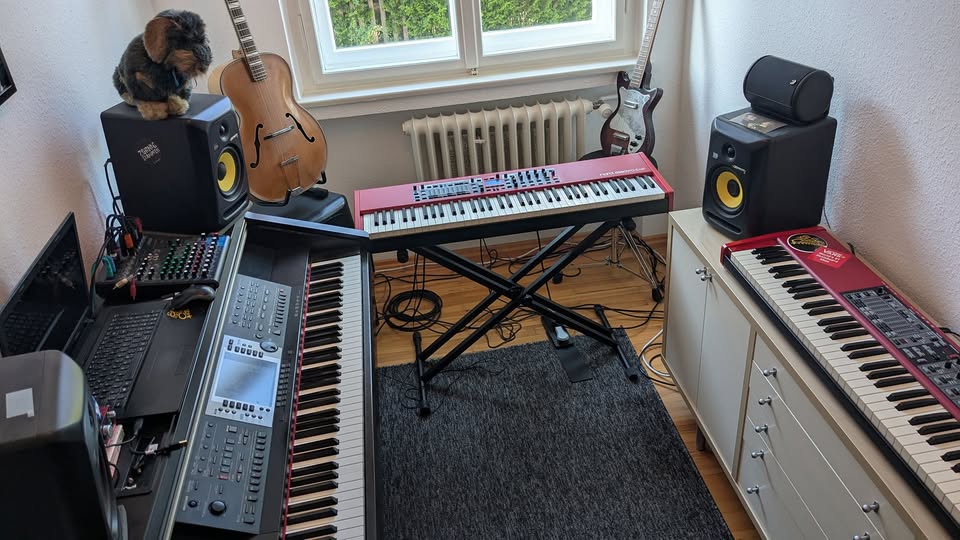
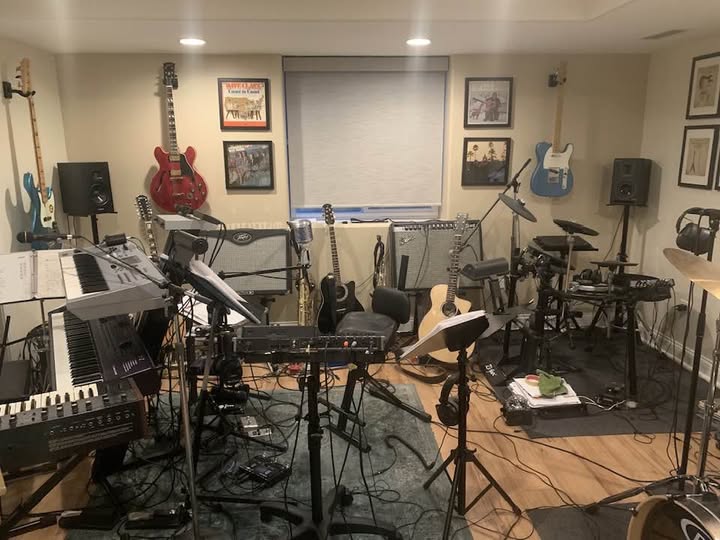
8. Versatile Multi-Instrument Station
Imagine seeing all your favorite synths and guitars ready to play at any given moment. This layout commonly features several tiers of shelving to hold various keyboards and drum machines. It is wise to keep your audio interface in a central spot for easy plugging. Having everything connected means you spend less time troubleshooting and more time actually making music.
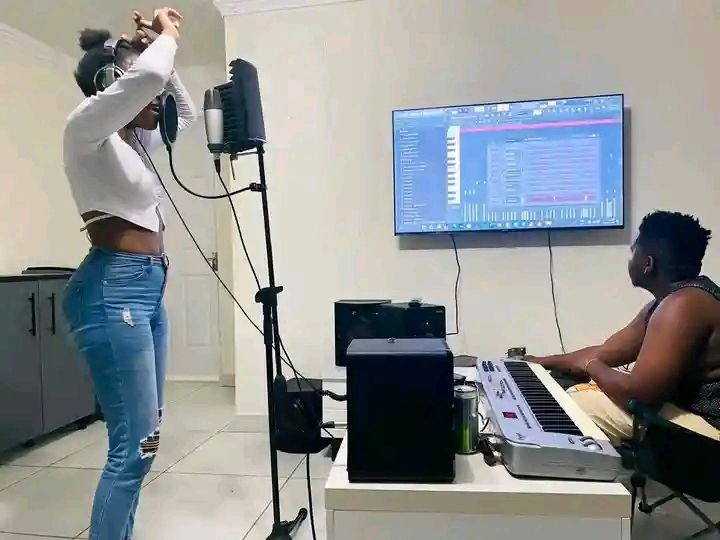
9. Streamlined Vocal Recording Booth
For some, a dedicated space for recording vocals is the most important factor to consider. This setup often includes a portable isolation shield or thick curtains to dry out the sound. Placing your microphone stand away from the computer fan helps ensure a much cleaner recording. Short cable runs to your interface keep the signal strong and the floor clear.
10. Smart Cable Management Idea
The usual problem with small studios is the “spider web” of wires behind the desk. This layout prioritizes hidden cable runs and labeled power strips to keep things looking very professional. You can see the difference between a cluttered room and one that feels truly organized. Using Velcro ties is a simple way to keep your studio looking sharp and clean.
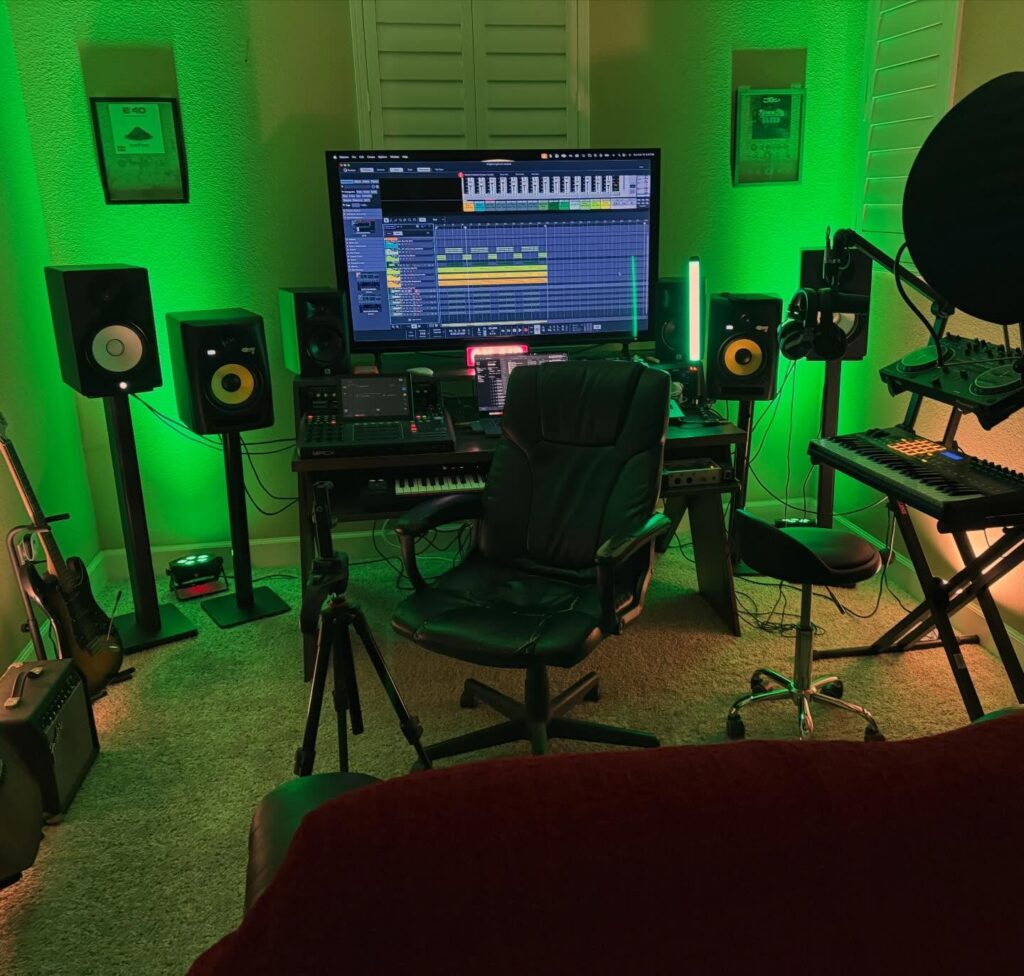
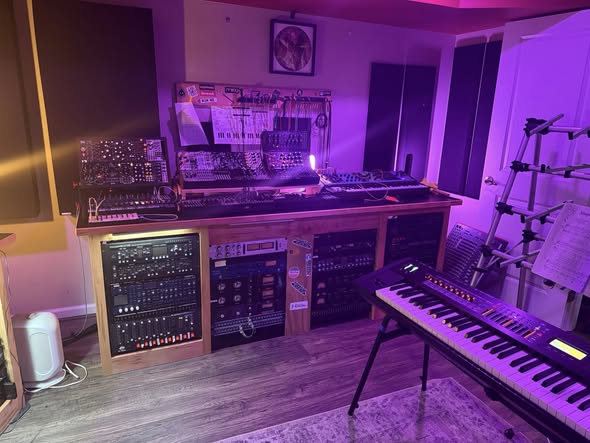
11. Artistic Studio Lighting Setup
Look out for how different light sources can change the mood of your entire studio. This layout may include RGB strips or warm lamps to create a specific creative atmosphere. It’s also clear that good lighting helps reduce eye strain during late-night editing marathons. Placing lights behind your monitors can even help the screen colors pop a bit more.
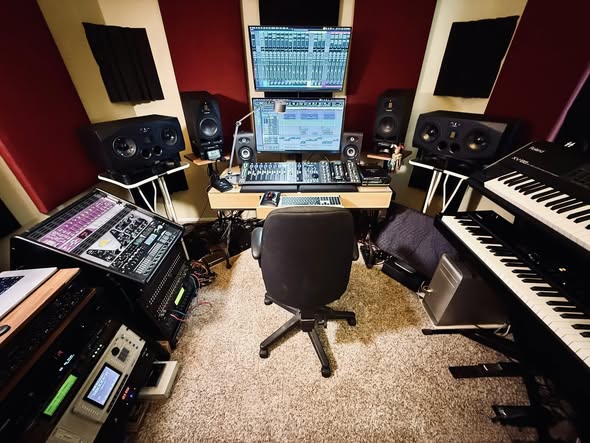
12. Functional Speaker Placement Strategy
The reason why this layout works so well is the careful distance between the monitors. It is also important to keep your speakers away from the direct corners if possible. This setup commonly features acoustic treatment at the first reflection points to ensure a flat sound. Listening to your favorite tracks in a balanced room makes mixing much more enjoyable.
13. Flexible Mobile Gear Station
Simply put, being able to move your gear is a game changer for small spaces. This layout utilizes desks with wheels so you can reconfigure the room for different tasks. It is not productive to have to crawl under a heavy desk to change wires. A mobile cart for your instruments allows you to bring the gear to you.
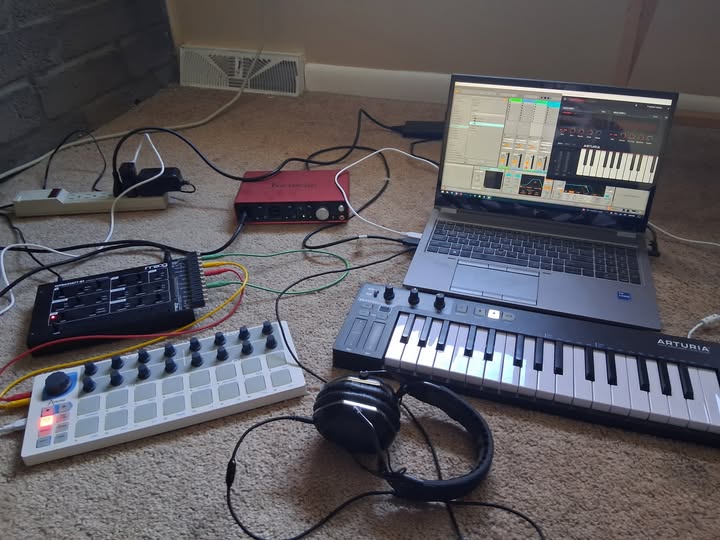
14. Minimal Laptop Setup Layout
You don’t have to have a massive console to produce a chart-topping hit these days. This layout commonly features a powerful laptop and a small bus-powered audio interface for portability. It has never been easier for producers to create high-quality music from a simple kitchen chair. Taking your setup to a different spot in the loft can provide a fresh perspective.
15. Organized MIDI Controller Station
Let’s say you have a lot of controllers that need a dedicated home. This layout often includes custom desk tiers to keep your knobs and faders within reach. Sticking to a logical flow from left to right can help you work faster. The main point is to keep your physical workspace as organized as your digital one.
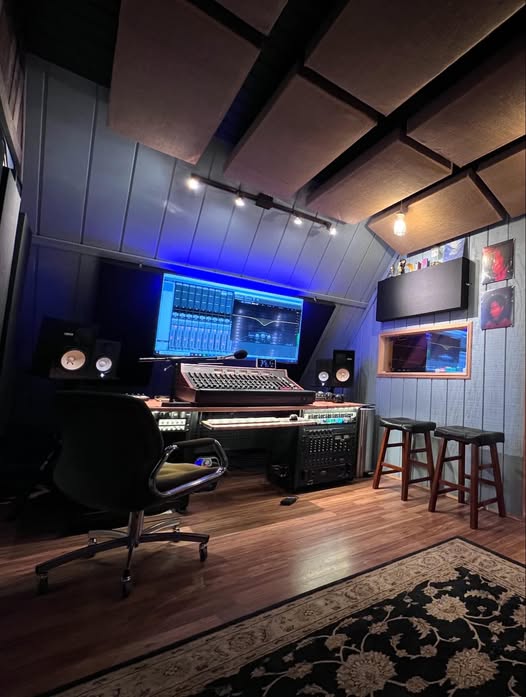
16. Symmetrical Mixing Room Plan
The theory is that a symmetrical room provides the most accurate stereo image for mixing. This layout commonly features the desk centered along the shortest wall for better bass response. It might not be obvious, but your ears will thank you for the balanced sound. Adding a few bass traps in the corners will further improve the room’s accuracy.
17. Rustic Wood Aesthetic Layout
Variety is key when it comes to the materials used in your home studio design. This layout often includes wooden desks and natural textures that provide a warm acoustic environment. Our experience leads us to believe that a comfortable room always leads to better music. Short sentences and a simple aesthetic help keep the focus on the sound itself.
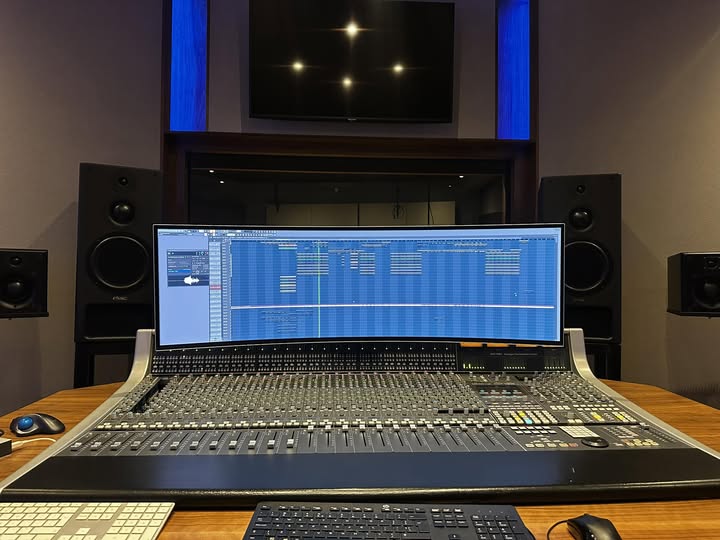
18. High-Tech Digital Command Station
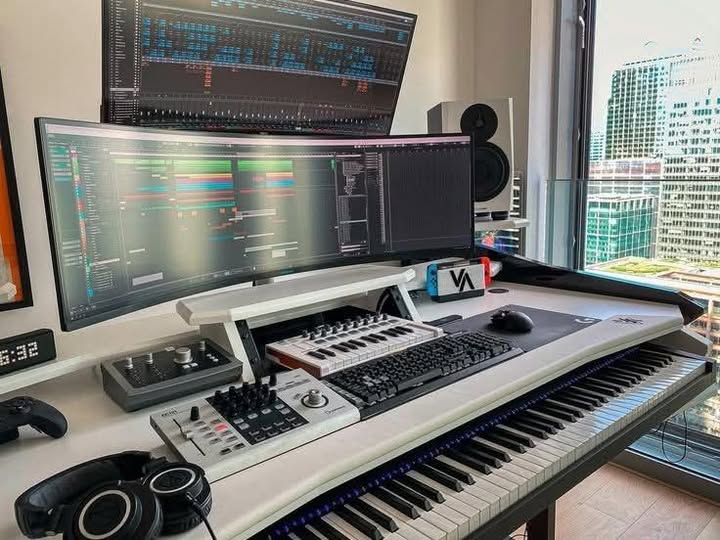
Now, if all your gear is digital, you can afford to have a very sleek layout. This setup commonly features a single large ultrawide monitor to replace multiple smaller screens. It is also important to have a high-quality interface that sits right on your desktop. This modern look is perfect for those who want a futuristic production environment.
19. Ergonomic Seating Arrangement

The most important factor is to simply stay comfortable while you are working on music. This layout centers around a high-end ergonomic chair that allows for proper posture and support. You can always add a small footrest to keep your legs at the right angle. Making sure you can reach every knob without stretching prevents unwanted strain or injury.
20. Aesthetic Studio Reveal Plan
The last thing you want is a room that feels like a chore to enter. This final layout combines all the best elements into one cohesive and beautiful creative space. It’s also clear that a well-organized loft is the best place to find your sound. Simply enjoy the process of building a space that is truly and uniquely yours.
In Summary
Building a loft studio is a journey that requires patience and a little bit of creativity. We hope these layout ideas give you the spark needed to start your own project. Remember that the best studio is the one that actually helps you finish your songs. Take your time to move things around until the flow feels exactly right for you. Your music deserves a space where it can truly grow and reach its full potential.