
Most home studio problems are not gear problems. They are room problems.
You can record through a decent microphone into a decent interface and still end up with recordings that sound roomy, harsh, or muddy. The room is doing that and until you deal with the room, no amount of gear upgrades will fully fix it.
This guide covers the practical acoustic treatment steps a beginner can actually take.
Key Takeaways
- Acoustic treatment controls sound inside your room. It is not soundproofing, which blocks sound from leaving or entering.
- The 3 biggest problems in untreated rooms are flutter echo, bass buildup in corners, and early reflections hitting your mix position.
- Acoustic foam alone is not enough. You need a mix of absorption and diffusion to get a balanced sound.
- You do not need to spend a fortune. DIY panels and strategic furniture placement can get you 80% of the way there.
- Start with the corners and your first reflection points before treating anything else.
Quick Answer
Acoustic treatment for beginners means placing absorptive materials like acoustic panels and bass traps in the right spots to reduce echo, control bass buildup, and make your recordings and mixes more accurate. Start with bass traps in corners, absorption panels at your first reflection points, and diffusion on the rear wall. That combination handles the three main problems in most home studios.
What Is Acoustic Treatment and Why Does It Matter?
If your recordings sound roomy, muddy, or harsh, the room is usually the problem, not your gear.
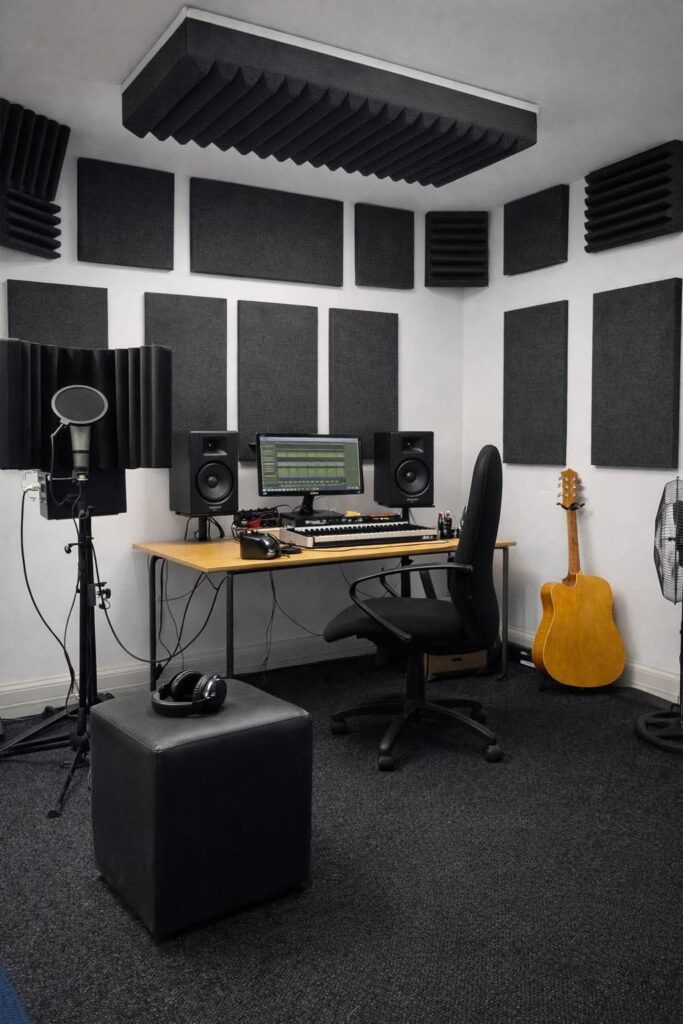
Most beginners assume upgrading a microphone or interface will fix a bad-sounding recording. Sometimes it helps. But if the room has untreated reflections and resonances, those problems get captured along with your performance and baked into every take.
Acoustic treatment is the process of controlling how sound behaves inside a room. It reduces unwanted reflections, tames bass buildup, and gives you a more accurate listening environment so your mixes translate properly on other speakers and headphones.
This guide covers the practical steps a beginner can take without a construction budget or an acoustics degree.
Acoustic Treatment vs Soundproofing: Not the Same Thing
This is the most common point of confusion for beginners, so it is worth getting straight before anything else.
Acoustic treatment changes how sound behaves inside a room. It makes the room sound better for recording and mixing.
Soundproofing (technically called sound isolation) stops sound from travelling between rooms. It keeps noise out and keeps your sound in.
Foam panels and acoustic tiles do almost nothing for soundproofing. If your neighbour can hear your drums, treatment will not fix that. Soundproofing requires mass, decoupling, and sometimes structural work.
For most home studio beginners, acoustic treatment is the priority. Soundproofing is a separate, larger project.
The 3 Main Problems Acoustic Treatment Solves
Understanding what you are actually fixing makes it easier to know where to put things.
1. Flutter echo
Flutter echo is the quick, repeating slap you hear when you clap your hands in an empty room. It comes from sound bouncing rapidly between parallel walls. In a recording, it sounds like a ringy, metallic tail on vocals and percussion.
2. Bass buildup in corners
Low frequencies build up in room corners where walls, floors, and ceilings meet. This creates a boominess that makes bass-heavy elements sound louder in the room than they actually are. You mix the bass down to compensate, then play the track elsewhere and it sounds thin.
3. Early reflections
Sound from your monitors reaches your ears twice: once directly, and once after bouncing off nearby walls, the ceiling, and your desk. Those reflected copies arrive milliseconds later and interfere with the direct sound. The result is a smeared, inaccurate stereo image that makes mixing decisions harder.
Step 1: Listen to your room before buying anything
What this step does: it tells you exactly what problems you are dealing with so you spend money in the right places.
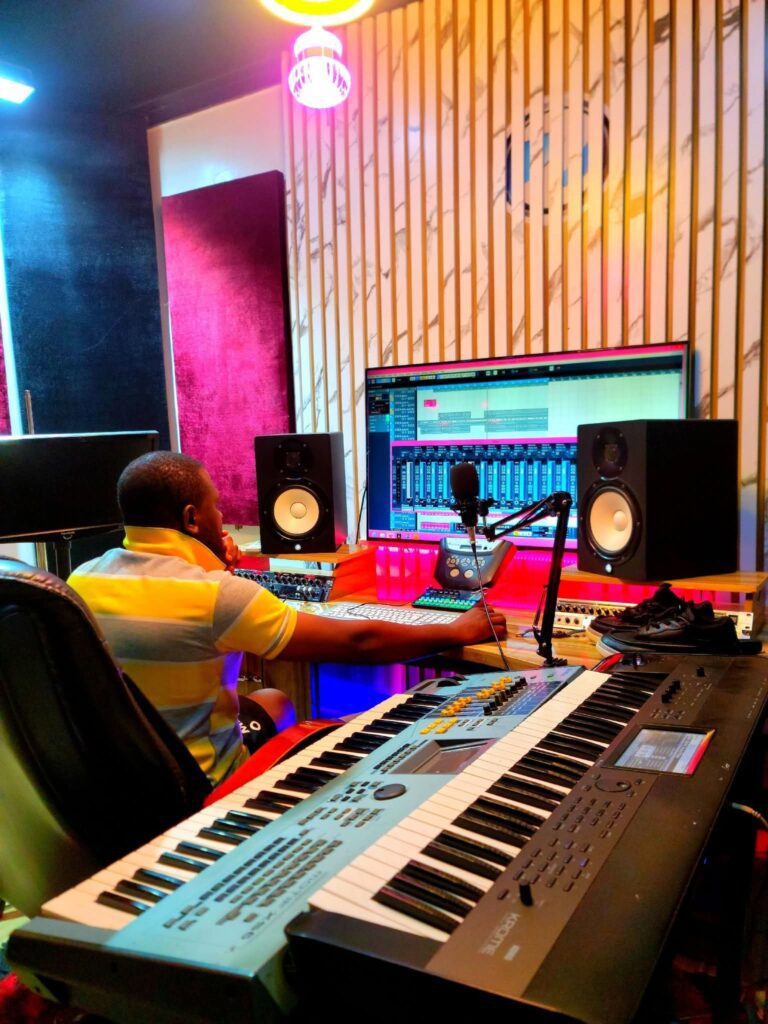
Clap your hands sharply in the centre of the room and listen. A ringy, prolonged decay means flutter echo. A thick, boomy quality in the low end points to bass buildup. If your mixes sound great in the room but fall apart on headphones or car speakers, early reflections are likely the culprit.
Walk around the room while playing a familiar track. Notice where the bass sounds loudest, usually in corners and along walls. That tells you where low-frequency buildup is worst.
Common mistake: skipping this step and just covering walls in foam. Foam handles high-mid and high frequencies. If your room is primarily suffering from bass buildup, foam will not help much and you will have wasted money.
Expected result: a clear sense of whether your room has a flutter echo problem, a bass problem, or a reflection problem. Most rooms have all 3 to some degree.
Step 2: Treat the corners first with bass traps
What this step does: reduces low-frequency buildup, which is the hardest acoustic problem to fix and the one most beginners ignore.
Bass traps go in corners because that is where low-frequency energy concentrates. Floor-to-ceiling corners are the priority. The tri-corners, where two walls meet the ceiling or floor, are even better but harder to treat practically.
Thick, dense absorption material works best for bass trapping. Rigid fibreglass or mineral wool panels (like Rockwool Safe ‘n’ Sound or Owens Corning 703) are more effective than thin foam. A 4-inch thick panel absorbs meaningfully lower frequencies than a 2-inch one.
You do not need to fill every corner perfectly on a tight budget. Even partial coverage makes a noticeable difference. Two floor-to-ceiling panels in the two front corners behind your monitors will improve low-end clarity more than anything else you can do.
Common mistake: using thin foam wedge panels as bass traps. Standard 1 to 2-inch foam has almost no effect below 500Hz. Real bass trapping needs thickness and density.
Expected result: reduced muddiness in the low end and a more honest representation of bass frequencies at your mix position.
Step 3: Address your first reflection points
What this step does: reduces the early reflections that smear your stereo image and make mixing harder.
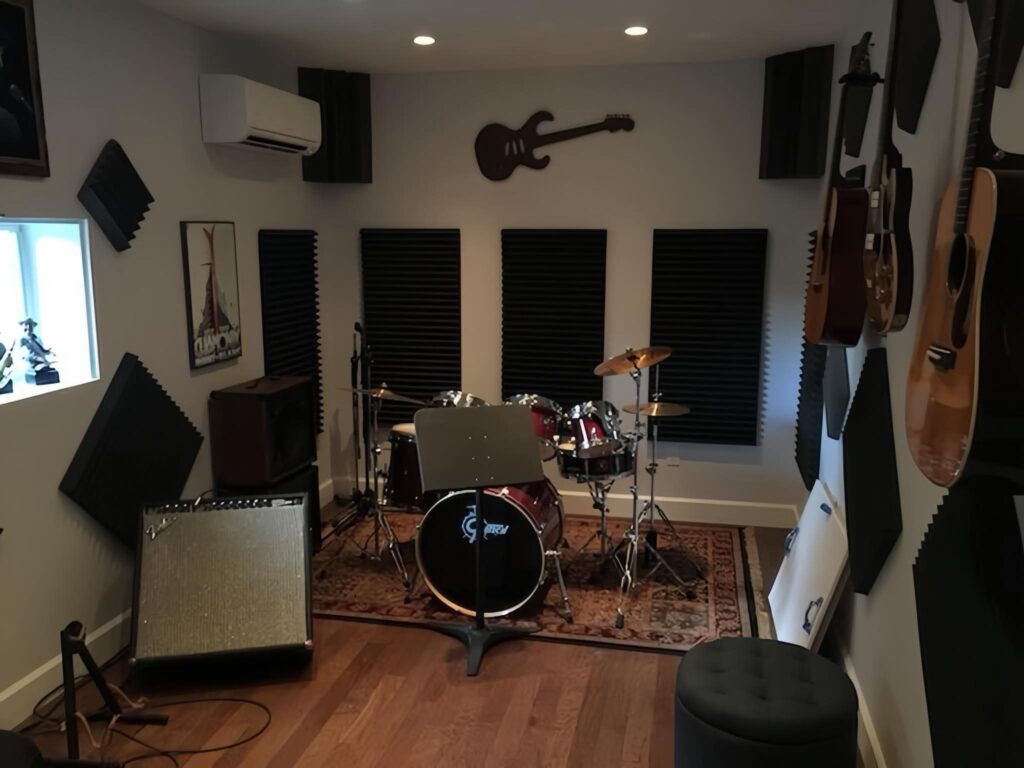
First reflection points are the spots on your side walls, ceiling, and sometimes the floor where sound from your monitors bounces before reaching your ears.
To find your side wall reflection points, sit at your mix position and have someone hold a mirror flat against the side wall. Wherever you can see a monitor in the mirror is a reflection point. Treat that spot.
A medium-thickness absorption panel works well here. 2-inch rigid fibreglass or a quality acoustic foam panel will handle the mid and high frequencies responsible for most reflection problems.
The ceiling reflection point is directly above your mix position, halfway between you and your monitors. Many beginners skip this one. It matters.
Common mistake: treating the wall directly behind the monitors instead of the side walls. The area behind the monitors matters, but the side walls at your listening position are more critical for stereo imaging.
Expected result: a tighter, more focused stereo image and reduced ear fatigue during long sessions.
Step 4: Add diffusion to the rear wall
What this step does: breaks up reflections from behind you without making the room feel overly dead.
A room that is treated with absorption only can start to feel unnaturally quiet and lifeless. Diffusion scatters sound rather than absorbing it, maintaining some sense of space while eliminating coherent reflections.
The rear wall, directly behind your listening position, is the right place for diffusion. Quadratic diffusers are the most effective purpose-built option. DIY versions made from timber strips cut to varying depths work well and cost much less.
Bookshelves filled unevenly with books, records, and oddly sized objects are a practical substitute. The irregular surfaces scatter sound in a similar way. This is one case where filling a bookshelf randomly actually serves an acoustic purpose.
Common mistake: putting diffusion on the front wall near your monitors. The front of the room needs absorption, not diffusion.
Expected result: a room that sounds controlled but not claustrophobic, with rear reflections broken up rather than bounced straight back at your head.
Step 5: Deal with flutter echo between parallel walls
What this step does: removes the ringy, metallic decay that shows up on vocal recordings and drum tracks.
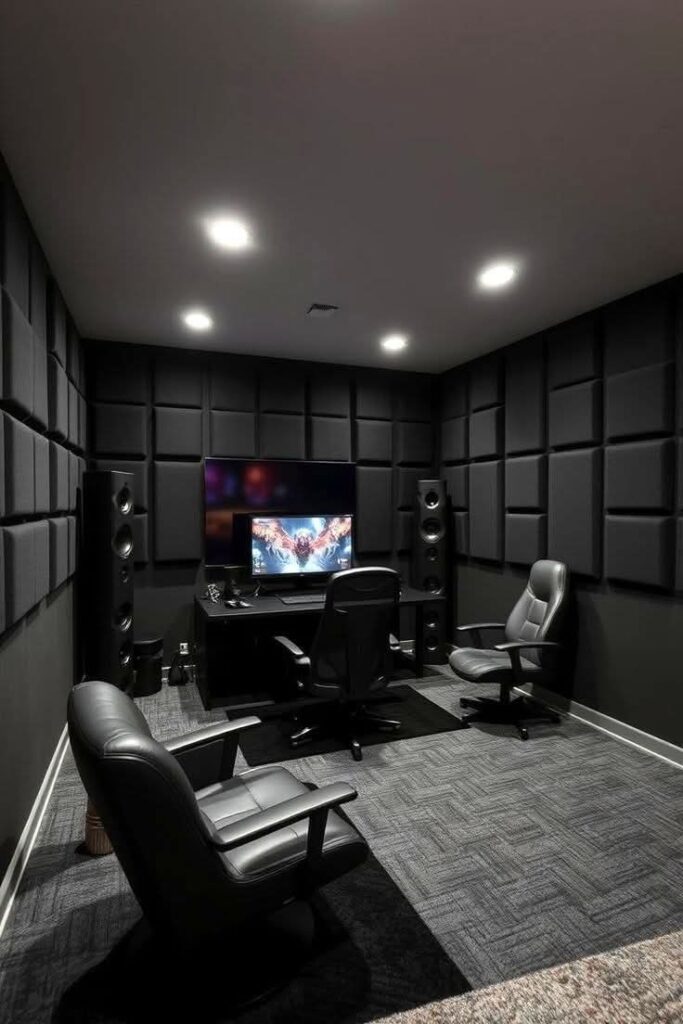
If you have bare parallel walls, flutter echo is almost guaranteed. The fix is breaking up at least one of those surfaces with absorption or diffusion.
You do not need to treat both walls fully. Treating one wall sufficiently will disrupt the reflection path. A combination of panels at different heights, rather than a single large panel centred on the wall, tends to work better because it catches reflections arriving at different angles.
Hanging fabric, rugs on the floor, and asymmetric furniture placement all help. A room that looks acoustically imperfect is often acoustically better than a perfectly symmetrical one.
Common mistake: assuming a carpeted floor solves the problem. Carpet helps slightly with high-frequency reflections at floor level, but it does nothing for the wall-to-wall flutter echo most beginners are hearing.
Expected result: a noticeably cleaner clap test and less ringy decay on recorded audio.
Step 6: Optimise your monitoring position
What this step does: puts you in the listening spot where the room sounds most accurate, which is just as important as the treatment itself.
No amount of treatment fully compensates for a bad monitoring position. The sweet spot in most rectangular rooms is roughly 38% of the room’s length from the front wall. So in a 4-metre room, your listening position should be about 1.5 metres from the front wall.
Keep equal distance from both side walls. Sitting closer to one side wall than the other means one monitor’s reflections reach you earlier, which skews your stereo perception.
Avoid the exact centre of the room. The centre point tends to have the worst bass buildup due to room modes. Even shifting 20 to 30cm off-centre in any direction helps.
Common mistake: pushing monitors flush against the front wall to save desk space. This excites bass frequencies significantly and is one of the most common causes of a boomy mix position.
Expected result: a more balanced frequency response at your listening position and better bass accuracy without any additional treatment.
DIY Acoustic Treatment: What Actually Works on a Budget
You do not need to buy a room full of commercial panels to get good results. Here is what works at a low cost.
| DIY Option | What It Treats | Effectiveness | Approximate Cost |
|---|---|---|---|
| Rockwool/Owens Corning 703 panels in timber frames | Bass and mid absorption | High | $50-$150 per panel |
| Rigid fibreglass wrapped in fabric | Mid and high absorption | High | $40-$100 per panel |
| Bookshelves with irregular contents | Diffusion | Medium | $0 if you own books |
| Heavy curtains or moving blankets | Flutter echo, high-mid absorption | Medium-Low | $20-$60 |
| Corner foam stacks (thick, not thin) | Light bass trapping | Low-Medium | $30-$80 |
| DIY timber diffuser panels | Rear wall diffusion | High | $60-$150 |
The single best budget move is building your own absorption panels. A timber frame, a sheet of 2-inch Rockwool or 703, and fabric covering will outperform most commercially sold foam panels at a fraction of the price.
For more ideas on setting up a functional space without overspending, take a look at our affordable recording studio ideas and budget home studio designs.
Bedroom Studio Acoustic Treatment: Special Considerations
Treating a bedroom studio is a different challenge from treating a dedicated room. Most bedrooms are small, rectangular, and full of furniture you cannot move.
The good news is that bedrooms often have some natural absorption already: mattresses, duvets, wardrobes full of clothes, and carpets all reduce high-frequency reflections. The bad news is that bedroom dimensions often create severe bass problems because the room is too small for low frequencies to develop properly.
What to prioritise in a bedroom:
- Bass traps in the two front corners are non-negotiable
- A thick panel at the first reflection points on each side wall
- Pull the bed away from the wall if it sits in a corner, since the gap behind it actually helps trap bass
- Avoid sitting with your back directly against a wall, which collapses the rear soundfield
If your desk is against the wall, the space between the monitor and the wall becomes a bass trap. Try pulling the desk at least 30cm from the wall and see if the low end cleans up.
We have more on setting up a functional bedroom studio in our home studio bedroom setups guide.
Small Room Acoustic Treatment: What to Expect
Small rooms are harder to treat than larger ones, and it is worth being realistic about that.
In a room under roughly 10 to 12 square metres, bass frequencies below 100Hz become extremely difficult to control. Room modes at low frequencies are spaced far apart, which creates large peaks and dips in the frequency response that even heavy bass trapping cannot fully eliminate.
This does not mean treatment is pointless in small rooms. It means:
- Focus your budget on as much bass trapping as the room can physically hold
- Use headphones for critical low-end decisions if your room is very small
- Accept that some bass inaccuracy is unavoidable and learn to compensate for it over time
Mid and high-frequency treatment works just as well in small rooms as large ones. Flutter echo and early reflections are very fixable regardless of room size.
More on making small spaces work in our home studio layouts for small spaces guide.
Who This Is NOT For
If you are building a commercial recording studio, a mastering suite, or a room where clients will pay for critical mixing decisions, the tips in this guide are a starting point, not a solution.
Professional acoustics at that level requires measurement software like REW (Room EQ Wizard), calibrated measurement microphones, custom-built panels, and often structural changes to the room itself. A professional acoustic consultant is worth the investment at that level.
This guide is for bedroom producers, podcasters, voice-over artists, and home studio musicians who want meaningfully better sound without a construction project.
Common Acoustic Treatment Mistakes to Avoid
- Treating only the walls you can see from your chair. The ceiling above your mix position and the floor in front of your monitors both matter.
- Buying the cheapest thin foam. 1-inch foam panels do almost nothing useful in a real room. They look like acoustic treatment without functioning like it.
- Over-treating with absorption only. A fully dead room is unpleasant to work in and can actually make mixing harder because you lose all sense of natural space.
- Ignoring the monitoring position. Moving your chair and monitors can make a bigger difference than adding panels.
- Treating before measuring. Even a free tool like REW with a basic measurement microphone will show you exactly where your room’s worst problems are. Treating blind wastes money.
Frequently Asked Questions
What is the difference between acoustic treatment and soundproofing?
Acoustic treatment controls how sound behaves inside your room by reducing reflections and bass buildup. Soundproofing stops sound travelling between rooms, and acoustic foam does almost nothing for that.
Where should I put acoustic panels in a home studio?
Start with bass traps in floor-to-ceiling corners, then add absorption panels at your first reflection points on the side walls and ceiling. Add diffusion on the rear wall behind your listening position.
Do I need expensive acoustic panels or will cheap foam work?
Cheap thin foam absorbs some high frequencies but has almost no effect on bass, which is usually the biggest problem. DIY panels using Rockwool or Owens Corning 703 in timber frames are far more effective and still affordable.
How much acoustic treatment does a home studio need?
A practical starting point is bass traps in all 4 floor-to-ceiling corners, panels at both side-wall reflection points, a ceiling panel above the mix position, and diffusion or absorption on the rear wall.
Can I use household items instead of acoustic panels?
Heavy curtains, bookshelves packed with books and records, thick rugs, and upholstered furniture all absorb some sound. They will not match purpose-built panels for bass control but can reduce flutter echo while you build a proper setup.
Does acoustic treatment help with recording vocals?
Yes. An untreated room adds its own sound to every vocal take as reflections and room reverb. Treatment reduces that so the recorded vocal sounds cleaner and sits more easily in a mix.
How do I know if my acoustic treatment is working?
Clap sharply in the room and listen for how long the decay lasts. A treated room sounds shorter and more neutral. For precise results, use the free tool REW with a basic measurement microphone to see your room’s frequency response.
Is acoustic treatment worth it if I mix on headphones?
If you record anything in the room, including vocals or instruments, room acoustics still affect what gets captured. Treatment is worth doing even if headphones are your primary mixing tool.
Conclusion
The priority order is straightforward. Bass traps in corners first, absorption at your reflection points second, diffusion on the rear wall third. Fix your monitoring position before or alongside treatment, since that costs nothing.
You do not need a perfect room to make good recordings. You need a room that is predictable enough that the decisions you make at your desk translate reliably on other speakers. That is achievable on a real-world budget with the steps above.
If you want to go further, grab REW and a cheap measurement microphone. Seeing your room’s actual frequency response on a graph removes all the guesswork and shows exactly where to spend next.
What to Do Next
- Fix your mix position first: Home studio layouts for small spaces
- Set up your bedroom studio properly: Home studio bedroom setups
- Build your studio on a budget: Affordable recording studio ideas
- Avoid common mixing errors: DAW mixing mistakes guide
- Design your full studio layout: Creative home studio layouts