
I used to look at images of home studios online and think to myself, “I hope my studio looks like that one day.” However, I then realised that no two home studios can look alike and I’d have to make mine unique.
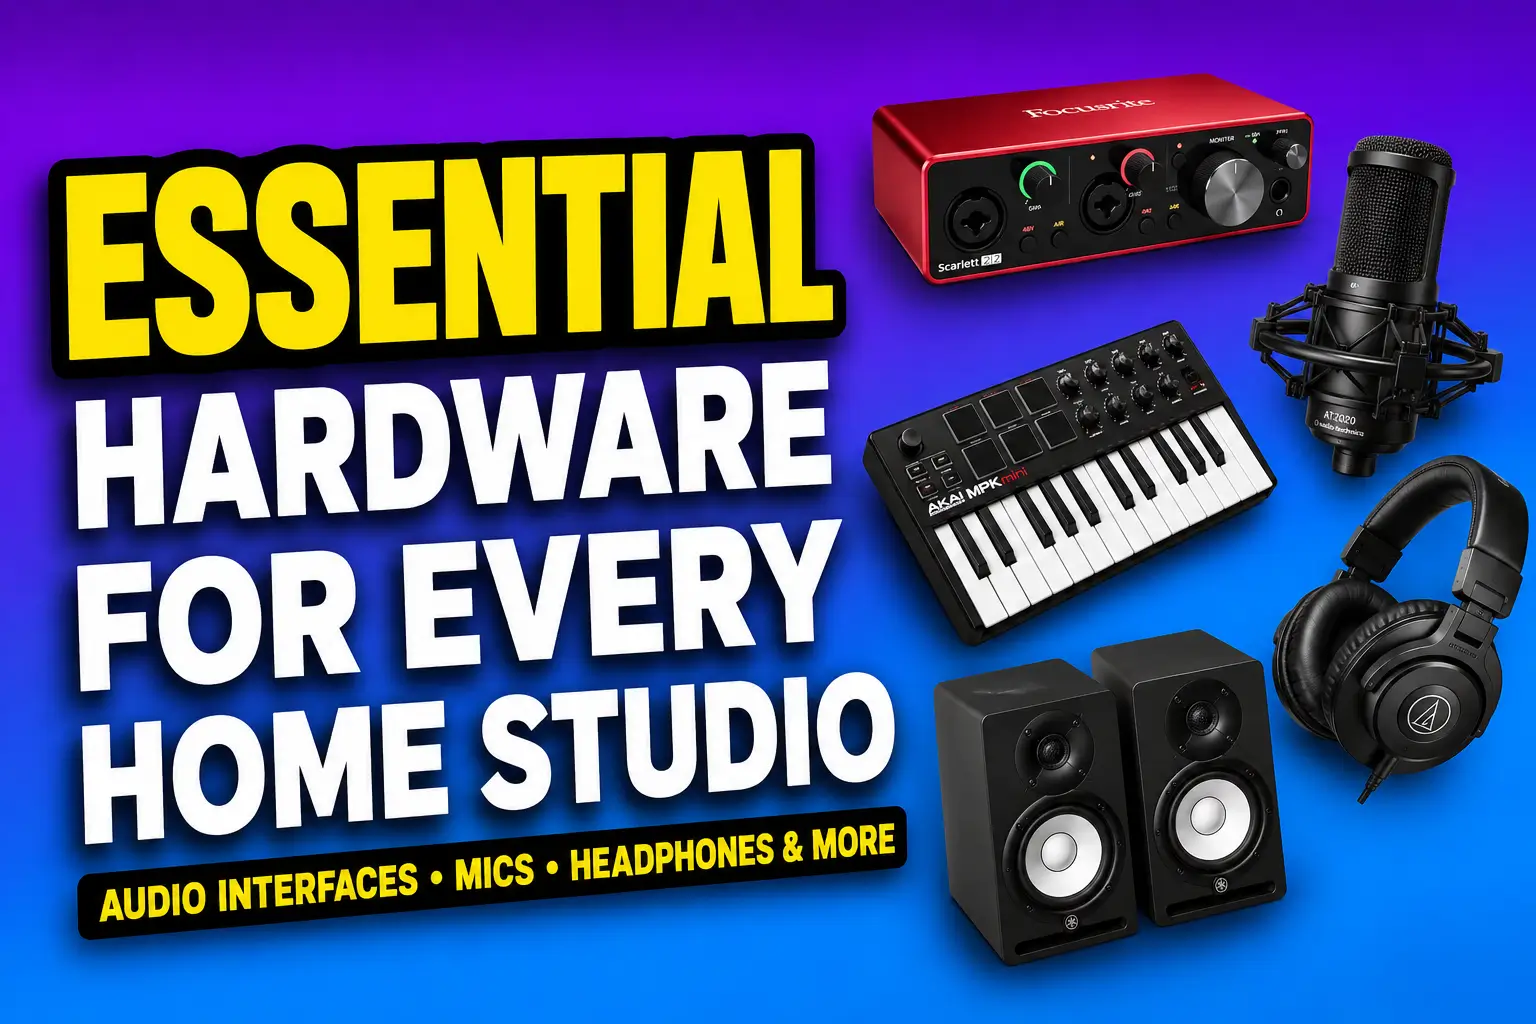
If you look at any home studio setup, you’ll quickly realise that a big part of it is the hardware and equipment in the studio. Hardware not only makes your studio whole, but it also gives a sense of your music style and genre.
For example, a vocalist will have a few more microphones than an EDM producer. This is because certain genres require more hardware than others.
From MIDI keyboards and monitors to microphones and audio interfaces, it quickly becomes overwhelming when choosing hardware for your home studio.
Fortunately, this guide will pick out the essential hardware for every home studio setup so you can skip the guesswork.
Quick Note: Keep an eye on your budget as studio equipment can become expensive fast. A vocalist usually needs to spend more on microphones up front than a producer working mostly with software instruments does.
Key Takeaways
- A few core pieces of hardware cover 90% of what any home studio needs, no matter your genre.
- Your microphone choice depends heavily on whether you’re recording vocals, acoustic instruments, or loud sources like drums and amps.
- Acoustic treatment matters as much as the gear itself, but you don’t need to spend a fortune on it.
- Buy only what you’ll actually use. Unused gear is wasted money sitting on a shelf.
The Computer That Runs Everything
Your computer is the foundation everything else connects to. Without it, none of the other gear on this list does much good.
16GB of RAM is the new baseline, not 8GB. Eight gigs used to be fine, but a couple of modern plugins running alongside a sample library will choke it without warning, usually mid-session, usually on the take you actually liked.
If you’re on Mac, an M3 or M4 chip handles most home studio loads without breaking a sweat, even the base MacBook Air. On Windows, look at a 12th-gen Intel i5 or newer, or a Ryzen 5000 series or newer. Older chips will technically run a DAW. They just won’t enjoy it once you load up real projects with more than a handful of tracks.

One thing I’d add from my own experience: don’t wait until your current computer dies to think about upgrading. A laggy system kills creative momentum faster than almost anything else in this list. I lost a vocal take I genuinely liked because my old machine froze on bounce. Never again.
| Setup Type | Minimum Specs |
|---|---|
| Mac | M3 or M4 chip, 16GB RAM |
| Windows | 12th-gen Intel i5 or Ryzen 5000+, 16GB RAM, SSD |
| Heavy multitracking | 16GB-32GB RAM, SSD storage, 6-core or better |
Studio Ergonomics Nobody Warns You About
Your chair and desk setup affects your mixes more than you’d think, mostly because bad posture makes long sessions shorter than they need to be. This one gets skipped constantly, and I get why. It’s not exciting gear.
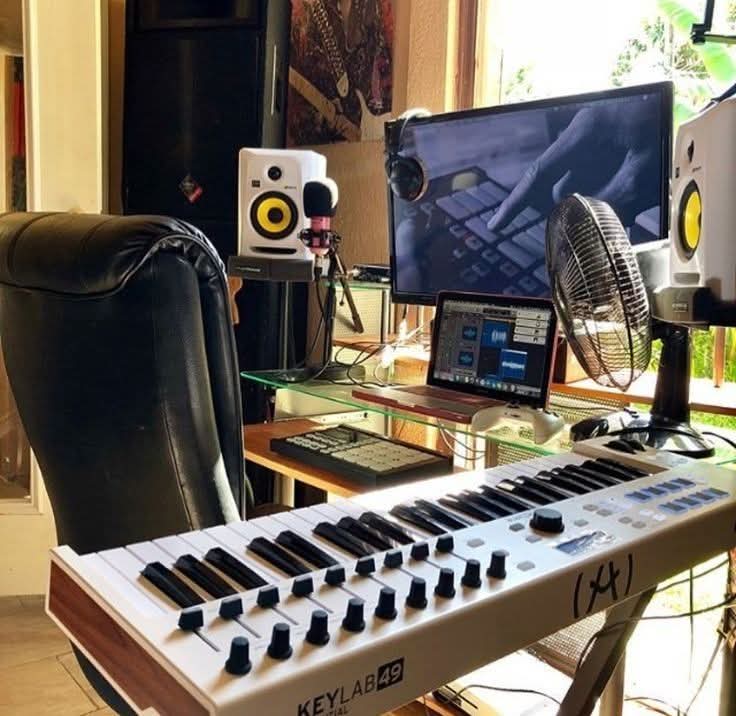
Desk height matters because your monitors need to sit at ear level, angled slightly inward toward your mix position. If your speakers are too high or too low, you’re hearing a distorted picture of your own mix without realizing it.
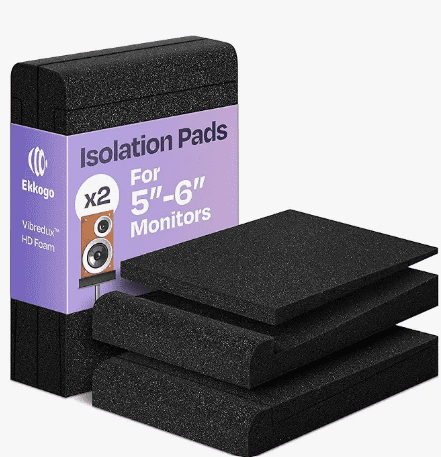
Isolation pads under your monitors are the cheapest fix in this entire guide. A $15-20 pair of foam pads stops your desk from vibrating and adding boomy low-end that isn’t actually in your recording. I didn’t believe this mattered until I tried it on a desk that had a slight rattle. The difference was not subtle.
A decent chair isn’t optional either if you’re spending three or four hours at a stretch mixing. Cheap office chairs sag within a year, and you’ll feel it in your lower back before you feel it in your wallet.
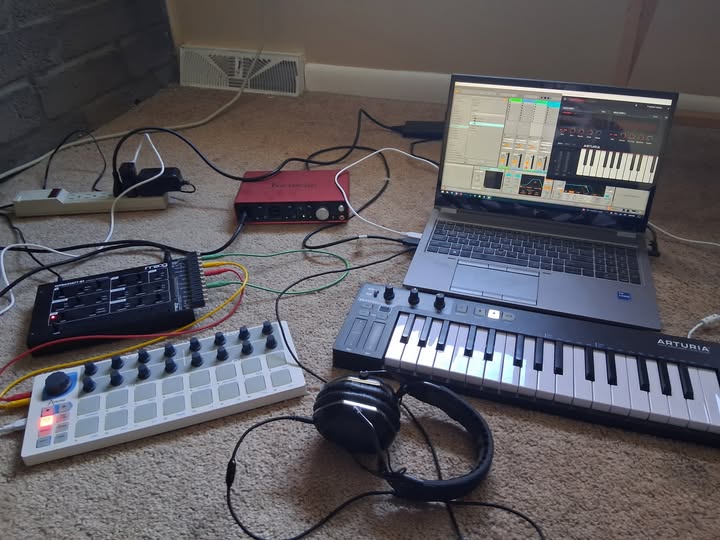
Why You Need an Audio Interface
An audio interface connects your microphones and instruments to your computer, converting analog signals into something your DAW can record and edit.
Unless you’re working purely with virtual instruments and samples, you’ll need one. It also gives you cleaner output to your monitors or headphones than your computer’s built in audio ever could.
For most home setups, two inputs is plenty. The Focusrite Scarlett 2i2 is a common starting point and one I’d point most beginners toward. If you’re recording a band or want more flexibility down the line, an interface with more inputs, like the Focusrite Scarlett 18i8, gives you room to grow.
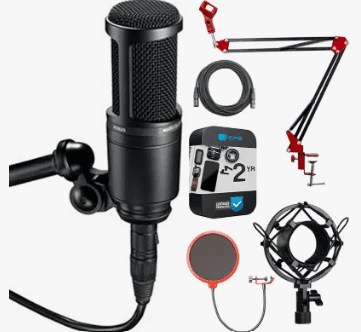
Choosing the Right Microphones for What You Record
Your microphone is arguably the most important piece of gear you’ll buy, since it shapes the actual sound going into your recordings. What you choose depends entirely on what you’re recording.
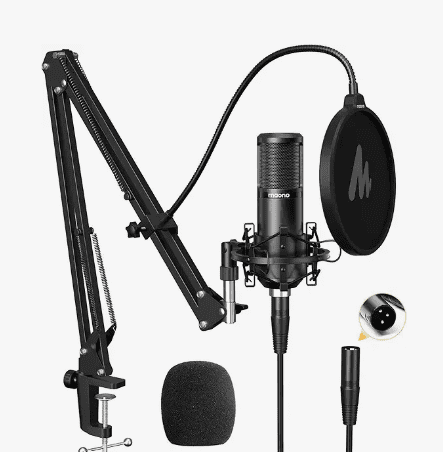
For vocals, a large diaphragm condenser microphone, like the Rode NT1-A, captures detail and warmth well. For acoustic instruments like guitar or piano, a small diaphragm condenser handles the higher frequencies more accurately. For loud sources like drums or guitar amps, a dynamic microphone like the Shure SM57 holds up better under volume.
Here’s a quick way to think about it:
- Vocals: large diaphragm condenser
- Acoustic instruments: small diaphragm condenser
- Drums and amps: dynamic microphone
- Bass heavy sources: dynamic microphone built for low frequencies
Most vocal microphones today come bundled with a pop filter. If yours doesn’t, grab one separately; it’s $10 well spent against re-recording a take because of one plosive “p” sound.
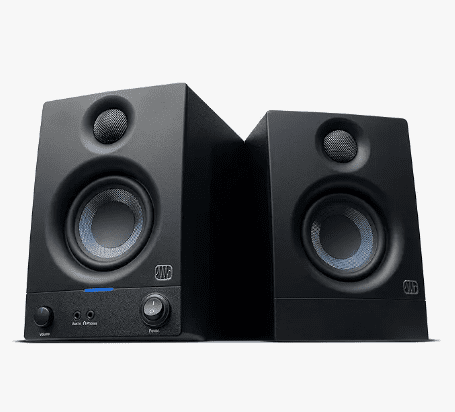
Studio Monitors vs Headphones
Studio monitors give you a flatter, more honest frequency response than regular speakers, which matters when you’re making mixing decisions. A decent pair starts around $200, and the difference becomes more noticeable as you move into the mid and higher price ranges.
That said, plenty of home producers do most of their mixing on headphones, especially if their room isn’t acoustically treated yet or if their living situation doesn’t allow loud monitor playback at all hours.
Closed-back headphones work best for recording, since they block outside sound from leaking into your microphone. Open-back headphones tend to sound more natural for mixing but let more sound escape, so they’re less practical if you’re tracking vocals in the same room as your speakers.
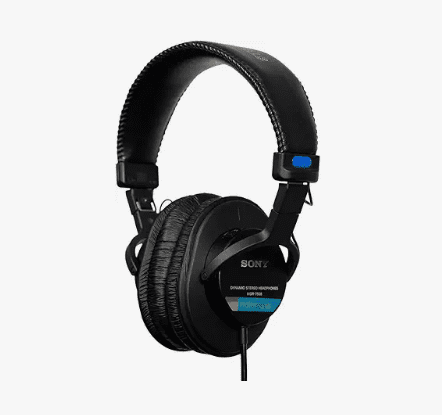
My honest take: get headphones first if you’re on a tight budget. Add monitors once you have a room that can actually support them.
Cables, Stands, and the Small Stuff People Forget
It’s easy to budget for the big ticket items and forget the smaller pieces that hold everything together.
You’ll need XLR cables to connect your microphones to your interface, plus a couple of short XLR cables running from the interface to your monitors. If your monitors use TRS jacks instead of XLR, double check before you buy cables that won’t fit.
Here’s the math that actually convinced me to stop buying cheap cables. A $8 cable usually dies within 4-6 months of regular use, crackling first, then dropping out completely. A $25 mid-range cable lasts 2-3 years easily.
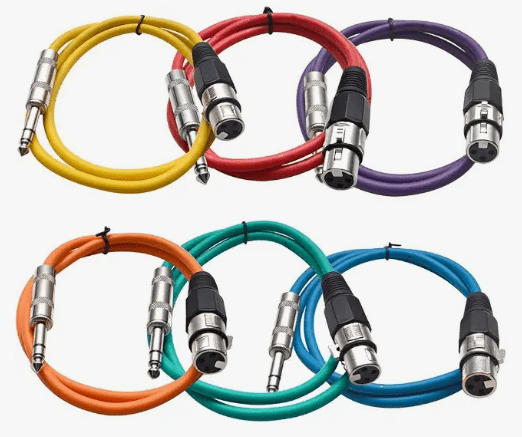
Replace the cheap one four times over that span, and you’ve spent $32, plus the time hunting down which cable is the culprit when your signal cuts out mid-take. The $25 cable wins on cost alone, not even counting the headache.
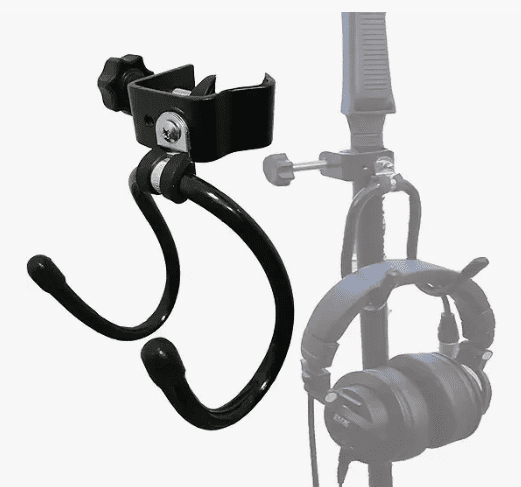
Microphone stands matter more than people expect too. A wobbly stand mid-recording is a small disaster waiting to happen.
Tripod boom stands work well for most general use, while desk arm stands suit voice-over or podcast-style setups where space is tight.
MIDI Keyboards and Acoustic Treatment
If you’re producing with virtual instruments inside your DAW, a MIDI keyboard makes the process far more natural than clicking notes in with a mouse. Most MIDI controllers don’t make sound on their own. They send signals to your DAW, which triggers the actual instrument sounds through your software.
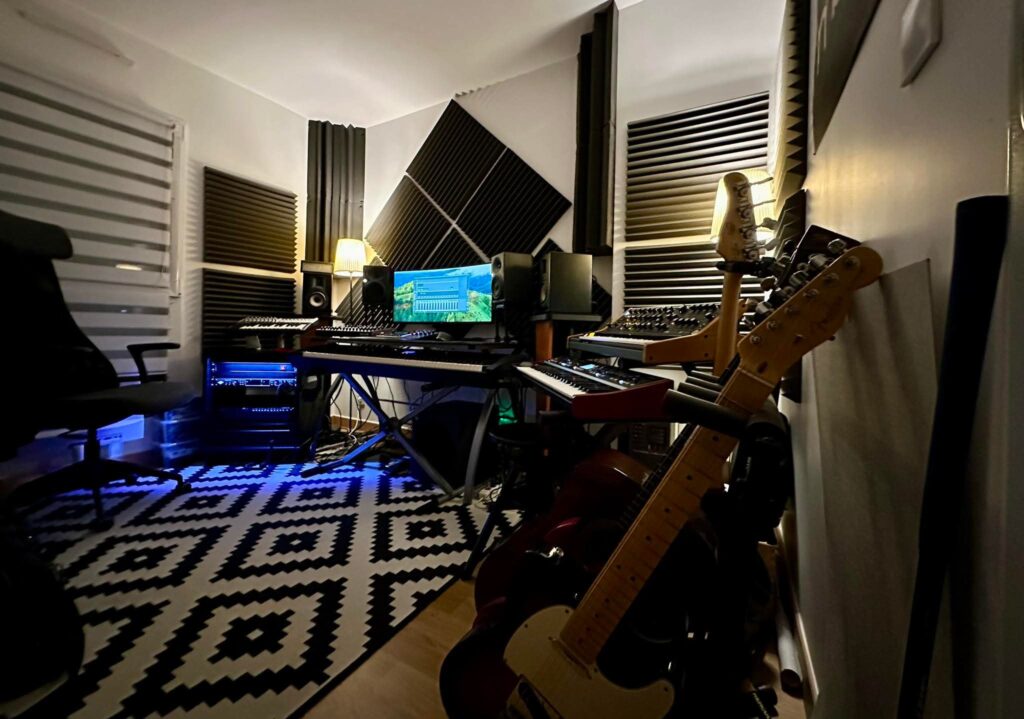
Acoustic treatment fixes problems in your recordings you can’t hear until you compare them against a reference track you love and wonder why yours sounds flatter or muddier.
Think of a typical 10×12 foot bedroom, the size most home producers actually work in. That room has hard parallel walls close enough together to create flutter echo you can hear if you clap once and listen.
Two or three absorption panels on the wall behind your monitors and one on the wall behind your mix position will deal with the worst of it. You don’t need to treat the whole room, just the spots where sound bounces straight back at your ears.
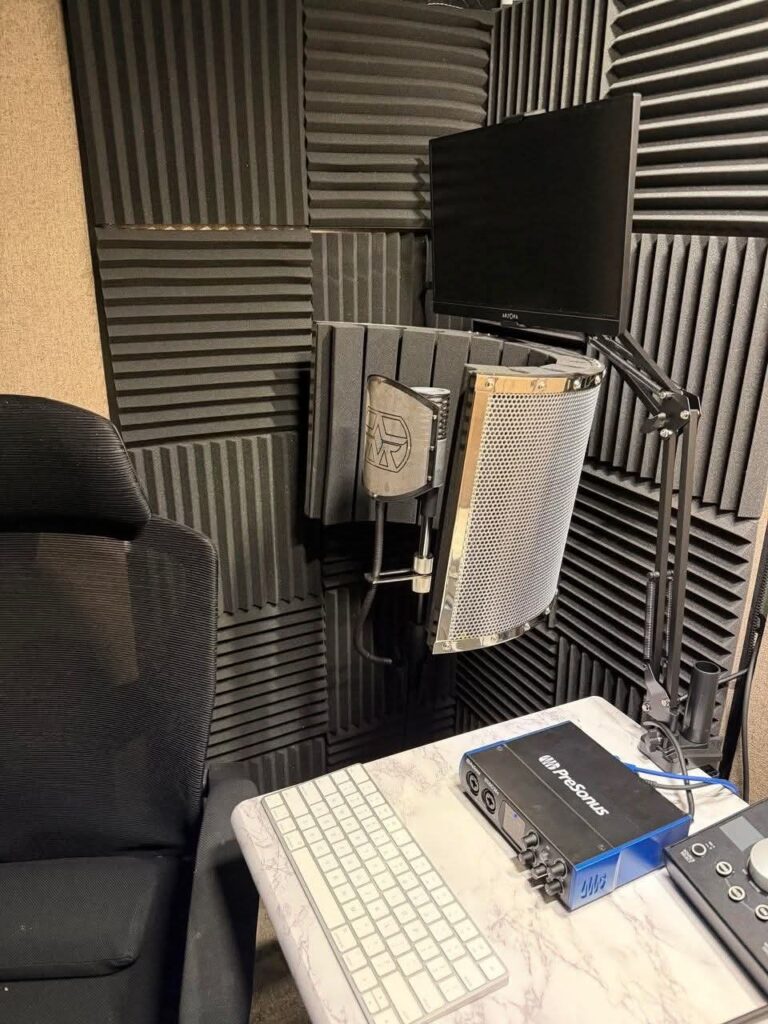
You don’t need to go all in on expensive panels right away. DIY foam panels, bass traps, and simple changes like thick curtains can make a real difference in a bedroom studio.
The Bottom Line
Hardware will always serve an important part in how your final mixes sound. This does not mean you have to spend copious amounts on studio hardware.
The old saying goes that you get what you put in. In this case, if your microphone recordings into your DAW aren’t great, you can’t expect clean mixes at the end.
Sometimes, the bare minimum will do in terms of the hardware you choose for your home studio setup. For example, for a vocalist, just a microphone, pop filters, monitors and maybe a guitar will do.
In the end, whatever hardware you choose, make sure that it will be used. This is because, sometimes you find home studio setups full of hardware that is hardly used and the money could’ve been spent on something else.